Showing posts with label diy. Show all posts

Wednesday, January 25, 2012

Crochet Ribbed Hat Pattern

I'm always searching for cute homemade ideas for my husband and son. It seems like for males, they are few and far between. While searching for a hat to make my husband and coming up empty handed, I finally gave up and decided to make my own version of a knitted hat that he used to love. I hate knitting, so I decided to figure out how to make this hat only look knitted but actually be crocheted.

Here's my handsome hubby posing for some mug shots.


This hat was easy to make and only took a few hours.
The following pattern is written for an adult male.

Items needed:
Worsted Weight yarn (I used Patrons Wool )
Blunt Needle For Weaving Ends
J Needle

We're starting out on the ribbing with the band
CH 7
1-Sc in second ch and in each ch across-6
From now on crochet only in in the back loop of each stitch.
2-Ch 1, sc in each stitch across-6
3- Repeat row 2 across until piece measures desired size (this took me about 74 rows.)
4-Sc to first row without twisting to create band.

We are now above the band of the hat
ch 1 from where we left off on previous band and instead of turning, continue crocheting around band.
Crochet 68 around evenly.

Hope you love it!


-Amanda

Monday, November 14, 2011

Homemade Harlots take on Embroidery

Melanie and I try to do a fun craft together every week. This week Mel had the brilliant idea to start embroidery. I have done embroidery before but not a lot and when I did do it I really loved it, so I was ready to take on the challenge too.

I am making a folksy looking fish for my kitchen. I love the old folk art look.

and Melanie is embroidering her prayer flags, it looks amazing!


We have learned many different stitching techniques and are having a blast! This has by far been one of my favorite projects that we have taken on. I cant wait to share them when they are done!
What kind of new crafts have you been learning?
-Amanda

Sunday, November 6, 2011

Soft Pretzel Recipe


  • 4 teaspoons active dry yeast
  • 1 teaspoon white sugar
  • 1 1/4 cups warm water (110 degrees F/45 degrees C)
  • 5 cups all-purpose flour
  • 1/2 cup white sugar
  • 1 1/2 teaspoons salt
  • 1 tablespoon vegetable oil
  •  
  • 1/2 cup baking soda
  • 4 cups hot water
  • Coarse Salt. Or cinnamon and sugar
In a small bowl, dissolve yeast and 1 teaspoon sugar in warm water. Let sit until frothy, I usually wait about 15 minutes.

In a large bowl, mix together flour, sugar, and salt. Make a well in the center of flour and add the oil and yeast mixture. Mix and form into a dough. If the mixture is dry, add one or two tablespoons of water. Knead the dough until smooth, and elastic,  about 7 to 8 minutes. Oil a large bowl, place the dough in the bowl and turn to coat with oil. Cover with a tea towel and let rise in a warm place until doubled in size, about 1 hour.


Preheat oven to 450 degrees F (230 degrees C). In a large bowl, dissolve baking soda in hot water.
When risen, turn dough out onto a lightly floured surface and divide into equal pieces. 
Roll each piece into a rope 


and twist into a pretzel shape. Once all of the dough is all shaped, 
dip each pretzel into the baking soda solution and place on a baking sheet.
Bake in preheated oven for 8 minutes, until browned.

Rub Butter onto pretzels and sprinkle salt on top, if you would rather have cinnamon and sugar pretzels add that after the butter instead.
We decided to enjoy our pretzels both ways! We had the salted ones with some cheddar cheese soup that I had in the pantry, it was perfect! These are so simple and way cheaper to make than to buy from the mall!

Thursday, November 3, 2011

Side Dish : Fried Green Tomatoes

I was looking for something to do with the rest of the tomatoes left in my garden that aren't turning red because of the weather now. I came up with the perfect idea, Fried Green tomatoes! This is a traditional southern dish that is so easy to make and yet so delicious. 


Ingredients:
Green tomatoes
Fish seasoning
Eggs
Salt
Pepper
Olive oil
Corn Meal

Chop tomatoes into 1/2 in thick slices
Beat eggs
Mix corn meal and fish seasoning in bowl


coat tomatoes in eggs and then coat in corn meal batter


 submerge in hot oil and cook on each side for about 5 min each


This is so quick and easy it doesn't need much preparation and the cook time is very minimal. Bon Appétit!

Friday, October 28, 2011

How to Clean Your Blinds

I have a white kitchen, so it is really hard to keep up with the cleaning of it, and if I don't want to be scrubbing all the time I just had to come up with another solution. When I mentioned to my mom that I was sick of looking out of the dirty blinds on my kitchen window she shared with me a little trick she has used for years. A quick reasy way to clean your blinds in a snap.

Here are my filthy blinds before. This is just a small area of it too!

Materials needed:
Grease cutting dish soap (I used dawn)
Scrub Brush

Place blinds in the bathtub and start filling it with warm water, add about 2 tablespoons full of dish soap(you can add bleach too or instead, but don't add too much or let the blinds soak for too long, because it will rot your blinds strings). When blinds are fully submerged, turn off the water and let the blinds soak for about 2 hours.

After blinds have soaked the take scrub brush and scrub blinds gently. Pull blinds out, and there you have it: clean blinds with minimal effort.

Here are my blinds after! So nice and clean!

Sure, you can take every slat out one at a time and clean them but why would you do that when this is such an easier and much more time efficient alternative!

Seasoning Cast Iron

My mom is remodeling her kitchen, that means I inherited several new-to-me kitchen items! I was so excited for her to bring the box over for me to go through. I found several useful items I needed and the stuff that I didn't need got donated of course!
A couple of my favorites were a new canister set
this measuring magnet


and this rad flavor injector.
But the best thing of all that I inherited were these beautiful cast iron pans, a prized part of my grandmothers kitchenware. And now, they are all mine!


Along with the cast iron pans my mother passed on the tradition of seasoning cast iron to me too, and I thought it would be a wonderful thing to share with all of you! Seasoning cast iron is important to help your pans have a non stick surface and prevent your pots and pans from rusting. If seasoning is done correctly your cast iron will last a lot longer.

First we stuck them in the oven and let the ovens cleaning cycle completely clean them. And let it cool for several hours.
Next we washed the pans with a little water and used a stiff abrasive pad to scrub it. Then we placed them back in the oven to dry. A tip my mom gave me is, you should always towel dry or dry your cast iron in the oven, you shouldn't allow it to air dry because this promotes rusting.

Then we brushed the pans with some vegetable oil (although traditionally Crisco is used, I don't have this in my house.)


We let the stove cook the oil in a little bit and then placed them in the oven with the cooking side facing the bottom of the oven on 500 degrees. There is a lot of smoke during this process so you may want to have the oven vent on and some windows opened.
Finally brushed it with one last coat of vegetable oil and let it cool! I cant wait to cook with them! I will definitely be posting the first meal I make with them. I can't wait! There are lots of different traditions that are passed down for seasoning cast iron. None of them are really wrong just different than the last! I would love to hear the ways you were taught to season cast iron! 

-Amanda


Wednesday, October 26, 2011

Halloween Costume : Sunflower Hat

My daughter, Luxxie, is totally obsessed with Plants vs. Zombies and could think of nothing better to be this year than the sunflower that stars in this little game. I was very excited because I knew this would be a simple costume I could throw together in a snap.


Materials:
K hook
F hook
Brown Yarn
Yellow Yarn
Blunt needle
Stitch Markers
Green yarn
yellow yarn
brown yarn


Abbreviations:
DC- Double Crochet
SC- Single Crochet
Rnd- Round
ML- Magic Loop
CH- Chain
R - Row
DC2tog- Double crochet 2 stitches together


Notes: This hat is crocheted in the round so mark your stitches.

This hat is made to fit a child 3-10 years you can add more rounds and more stitches to increase it or take rounds and stitches to decrease it to the size needed.

Hat:
With brown yarn and K hook
ML- DC 10
Rnd1: DC 2 in each around-20
Rnd2: *1 DC in first DC, DC 2 in next DC,* Repeat * to * around -30
Rnd3: *DC in each of the next 2 DC,DC 2 in next DC*. * repeat * to * around- 40
Rnd4: *DC in each of the next 3 DC, DC 2 in next DC.* repeat * to * around -50
Rnd5: *DC in each of the next 4 DC, DC 2 in next DC.* repeat * to * around -60
Rnd6:DC in each around-60
Rnd7-10: Repeat Rnd6
After you are all done do not finish off we will make the ear flaps now

Ear flaps:
with brown yarn and K hook
Ch 3 (where we left off) Turn
R1: DC in each of the next 9 -10
R2: CH 3 Turn, DC in each of the next 9 -10
R3: CH 3 Turn, DC in each of the next 9 -10
R4: CH3 turn, Dc2tog in each of the next 2 stitches (you will have done 4 stitches into 2), DC in next 2, Dc2tog in each of the next 2 stitches. -6
R5: Ch 3 turn, dc2tog, dc next 2 stitches, dc2tog-4
finish off
Repeat Ear flap instructions 20 stitches from where you finished off the first flap.
SC green around entire hat to give it a uniformed look.

Petals:
With yellow yarn and f hook
ML 5
Rnd1: 2 sc in each sc around. -10
Rnd2: *1 sc in next, 2 sc in next* Repeat * to * around - 15
Rnd3: *1 sc in each of the next 2 sc, sc 2 in next sc* Repeat * to * around - 20
Rnd4: * 1 sc in each of the next 3 sc, sc 2 in next sc* Repeat * to * around - 25
Rnd5-8:Sc in each sc around - 25 (per round)

Close petal by sc the layers together to form a cupped petal like in the picture below.

Stitch to head of hat. Its a good idea to use the person you are going to be giving the hat to so you can place the petals correctly.

At the end add braids to the sides with green yarn by inserting yarn through a DC on each side flap and braiding together. Tie secure with more green yarn and there you have it! An awesome sunflower hat!

This pattern is untested so please let me know if you find any mistakes!

-Amanda

Tuesday, October 25, 2011

Tuesday Tip: Homemade Antibacterial Cleaning Spray

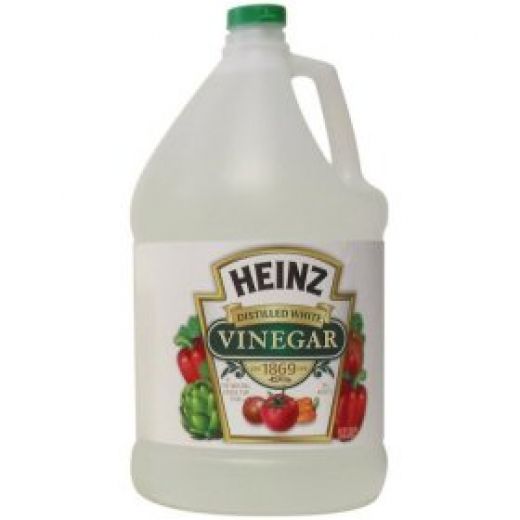
In my nonstop mission to make our home clean and green, I've come across a lot of homemade recipes for cleaning products and soaps that are simple and easy to make. My favorite cleaning spray is -surprise- vinegar! I mix it at home, and saves SO much money!


It's easy: take white vinegar, pour in an empty spray bottle (remember to save one when you run out of something!), and dilute about 60% with tap water.

Start cleaning!

Your house will only smell like vinegar for a little bit. After that, it will just smell clean. You may find you crave salt and vinegar chips afterward. Stay tuned for our homemade chip recipe!

-Melanie

Sunday, October 23, 2011

Homemade Plum Jam

I'm so excited to share my new canning experience! For the first time ever I canned jam! I chose Jam because I love the consistency and that there are still pieces of the fruit in the mixture as opposed to just making a jelly or marmalade ect. Now, I'm new to the canning process and I try to explain it in as much detail as I can here but always make sure you research and consult older family members or friends who have canned before if anything seems off to you. Researching stuff before you do it is always the best tool!

Ingredients
about 5 cups of plums chopped (this weighed out to about 3 lbs of plums)
2 tbsp fresh lemon juice
6 tbsp pectin (or 1 package)
1 cup honey (or to taste depends on sweetness and ripeness of plums.
1/2 cup water

Method:
Add plums pectin and lemon juice to pot and cook on medium heat, the plums will start to liquefy and turn to mush.

When mushy add 1/2 cup of water and stir well until it comes to a boil
Let boil without stirring for 20-30 minutes

There is a kind of foam that forms on top when you leave it to boil (which you should for about 20 min) Scrape foam off top
Add honey and cook for another 15 minutes until it starts to form one syrupy consistency.

Wash and boil jars to prepare for jam, dry thoroughly and add hot jam.

Place lids and rings on jars
Process jars in boiling water for 20 minutes
and there you have it homemade jam! its so simple and delicious! If there is one thing I have realized its that everything that is made from scratch and by hand is so much simpler than you make it out to be in your head! Really try it! You will amaze yourself, plus you can add the amount of sugars or salts you want. So much healthier than store bought! And how can you go wrong with all the hard work you put into it? It's bound to taste delish!
-Amanda

Friday, October 21, 2011

D.I.Y Guitar Pick Necklace

I went to see my very favorite band last month, Minus the Bear. After the concert one of my really good friends handed me the perfect concert trinket, a guitar pick caught from a band member! I was so excited about this I wanted to be able to show it off and use it all the time, so I came up with the perfect idea. I decided to make the pick into a necklace! I wanted to share with you all how I did it, maybe it will give you some inspiration to make something too!

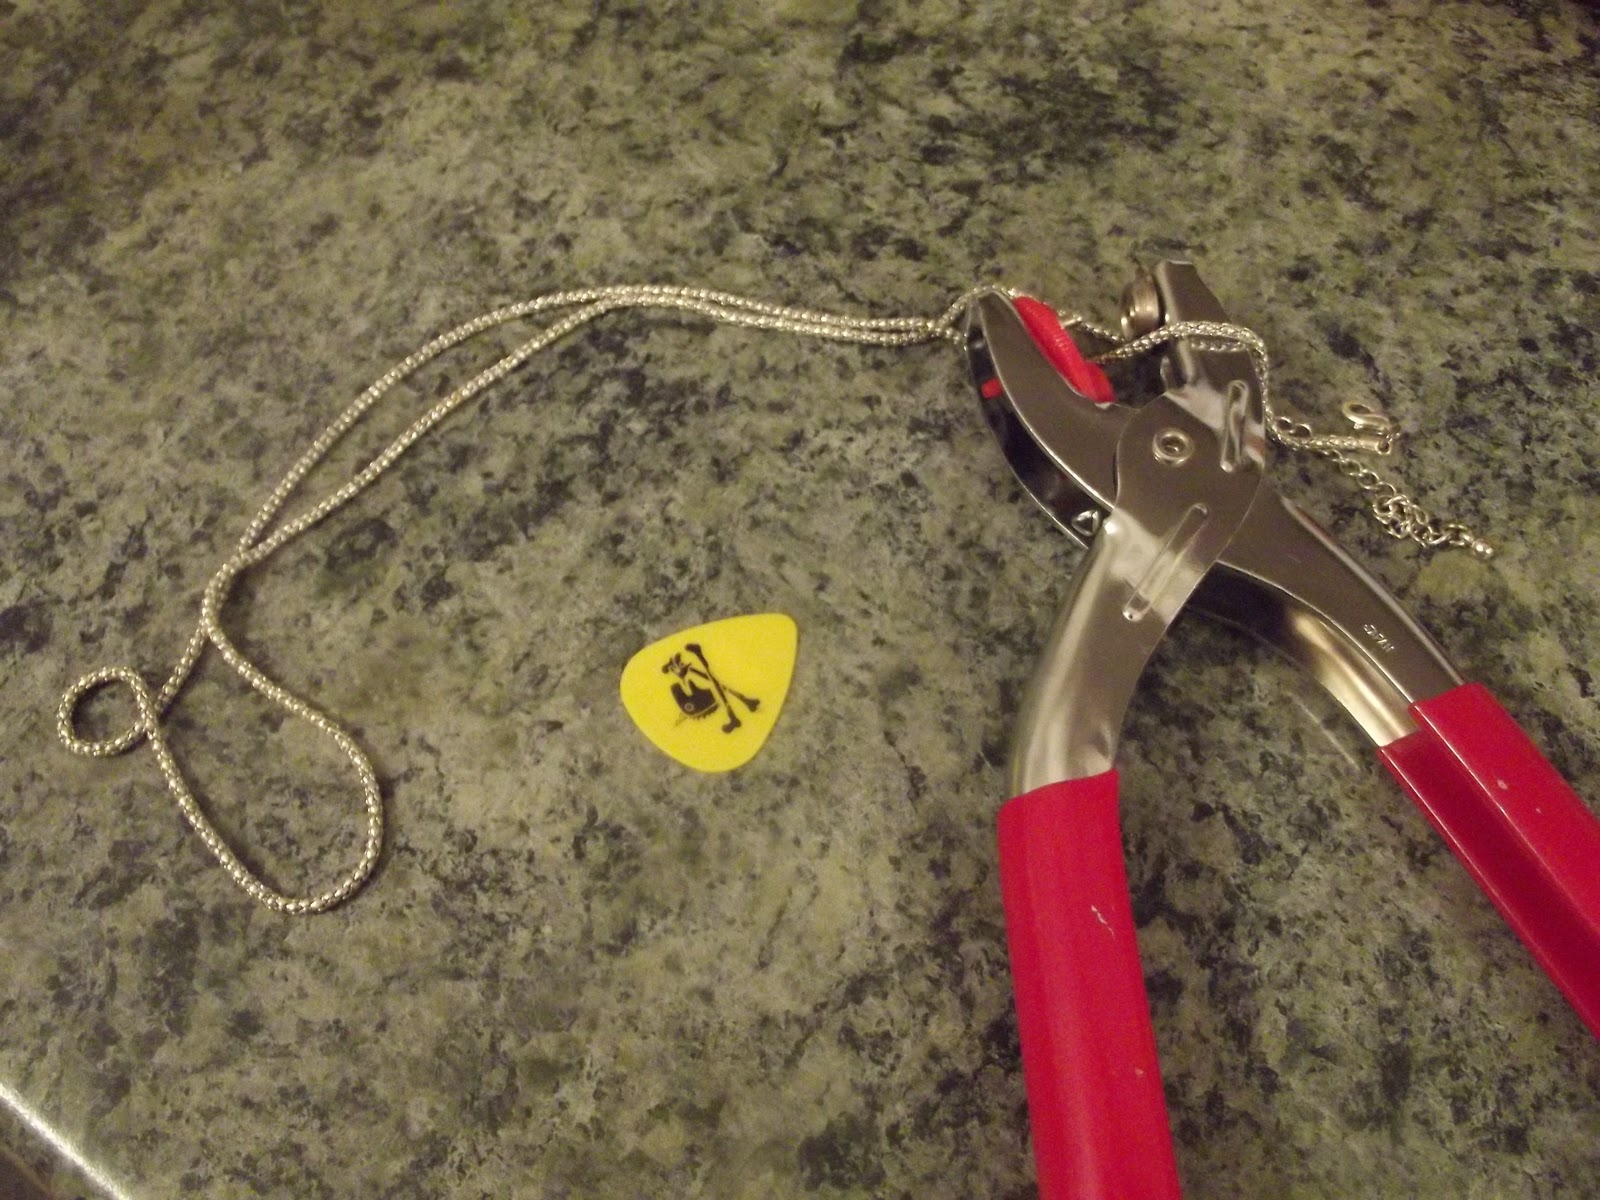
Materials:

Hole puncher
Guitar pick
necklace chain

Punch hole in end of guitar pick


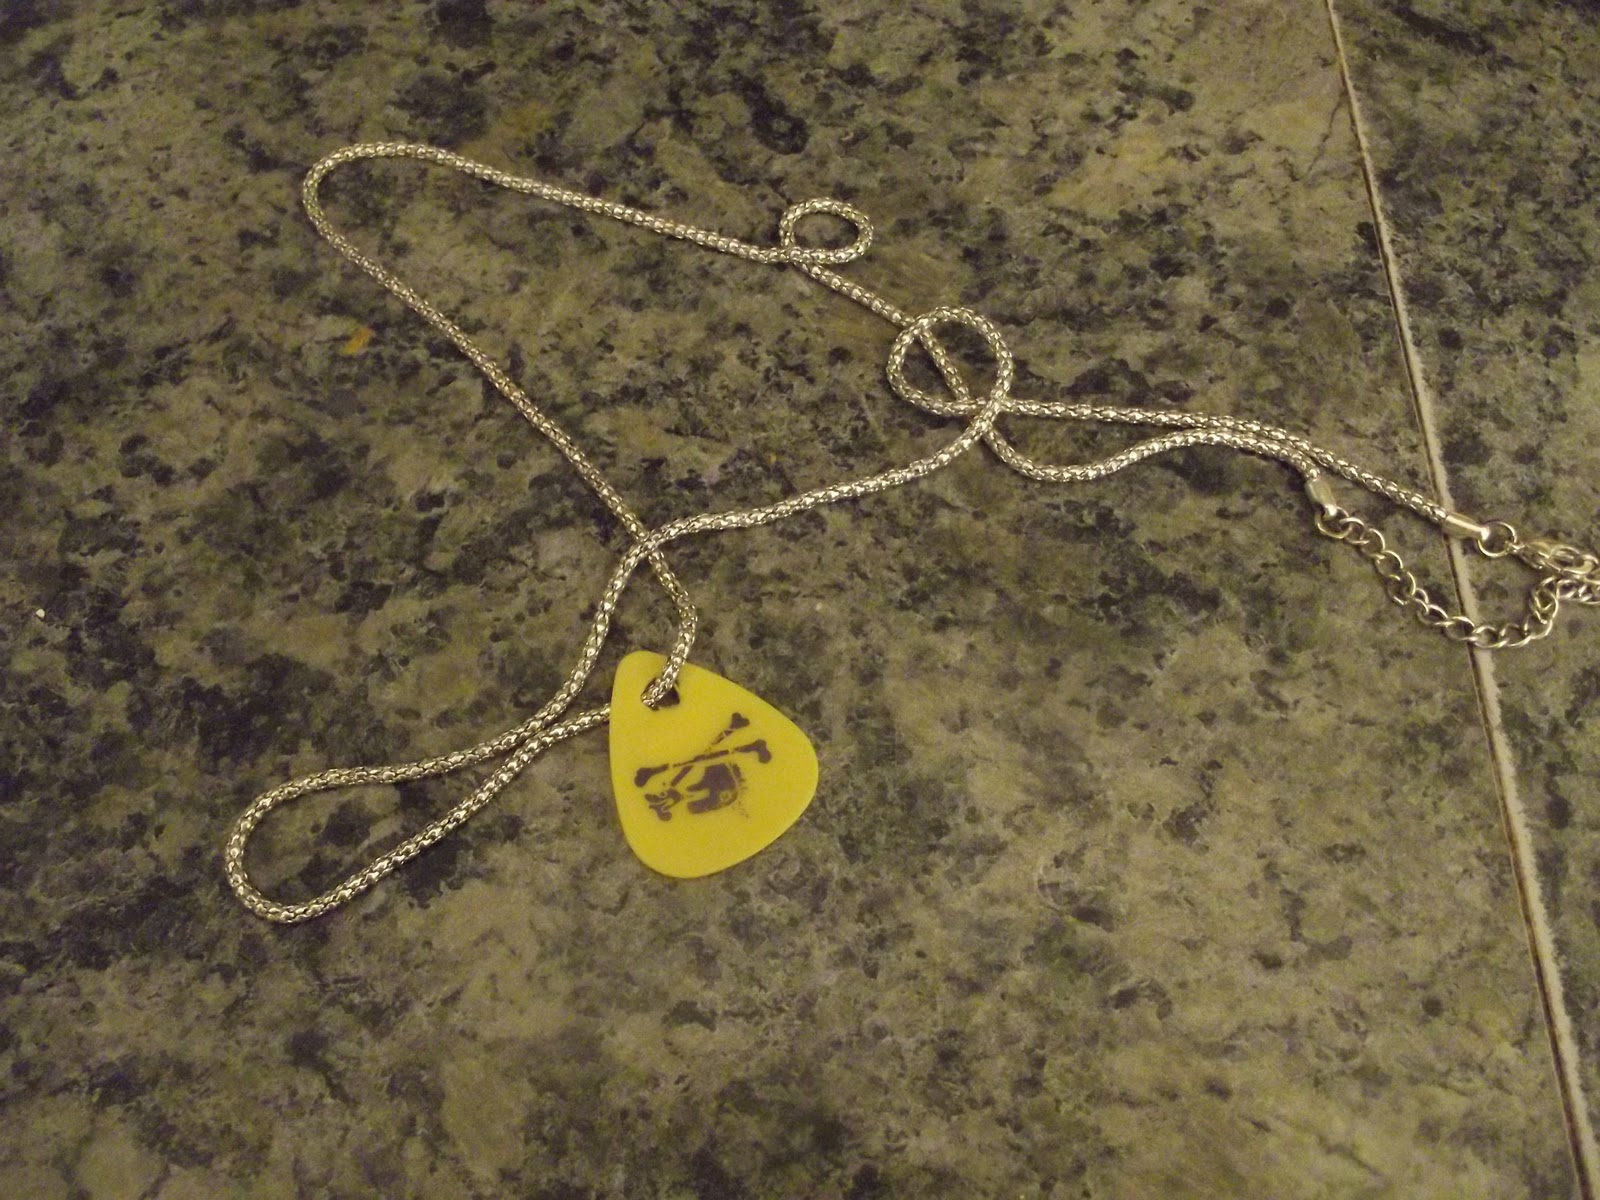
Insert necklace chain!


Seriously how cool is that? Now, I can wear it as a cute necklace and it was a totally free concert trinket!

I also sprayed some Mod Podge on it to keep the image on the pick from fading. It seems to be holding up really well so far.

-Amanda

Tuesday, October 18, 2011

Homemade Pumpkin Pie

So now that the holidays are coming up I thought it was the perfect time to post a made from scratch pumpkin pie! This is the perfect way to impress people during the holidays especially if you're a beginner to cooking because its just so simple!
They never come out looking just like the store bought ones but they ALWAYS come out tasting so much better!

Ingredients:
1 medium pumpkin halved and gutted (I used sugar pumpkins if you don't use sugar pumpkins add sugar to taste usually about 2 cups)
1 1/2 cups heavy cream
4 tbsp pumpkin pie seasoning (I just had some laying around, alternatively you could use cinnamon nutmeg cloves and cardamon I dont know the exact amount but taste everything! make it how you love it!)
2 eggs and an additional egg yolk
1 tbsp lemon zest
Pie Crust (I would have made this from scratch had I not had a spare pie shell sitting around. Waste not want not)

Method:
First and foremost I always pour myself a glass of wine, I love me some cooking and wine! :-)
1.Remove stem and gut pumpkin.(I save the seeds for roasted pumpkin seeds) Lay pumpkin cut side down on foil lined baking sheet bake 350 until tender and mashable like potatoes about 45 min - 1 hour.

Let cool

Peel skin (orange part) of pumpkin off.
Mash flesh of pumpkin with potato masher (or even a spoon or blend with food processor)

In food processor (or with hand mixer, ect.) add cream, seasoning, eggs and lemon zest.(enjoy the laundry in the background)

Blend until a smooth consistency
Pour into pie crust

Bake in oven at 425 for 15 minutes then reduce heat to 350 for 45 minutes.
Let cool.
Enjoy!
This was a really big hit with my mother in law and pumpkin pie is her favorite! SCORE! I hope you guys enjoyed this recipe and I would absolutely love to hear variations and suggestions!
Happy Baking!

-Amanda